AWS Fundamentals - Part 3: Interacting with AWS
20 Feb 2019AWS provides a number of methods for interacting with the service, such as command line tools, CloudFormation (i.e. templated deployments - covered in a future post) as well as APIs / SDKs. However, it’s likely that for first time users and beginners, the AWS console will be the primary method for interacting with the platform.
AWS Console
The AWS console is a web based GUI that provides the ability to interact with the services available within AWS. For example, I could use the console to launch an EC2 instance (i.e. a virtual machine), view information about that instance such as the IP address that has been assigned to that instance and then terminate that instance once I am finished with it.
To begin, log on to the AWS console, after which you will be presented with a screen showing the AWS services available:
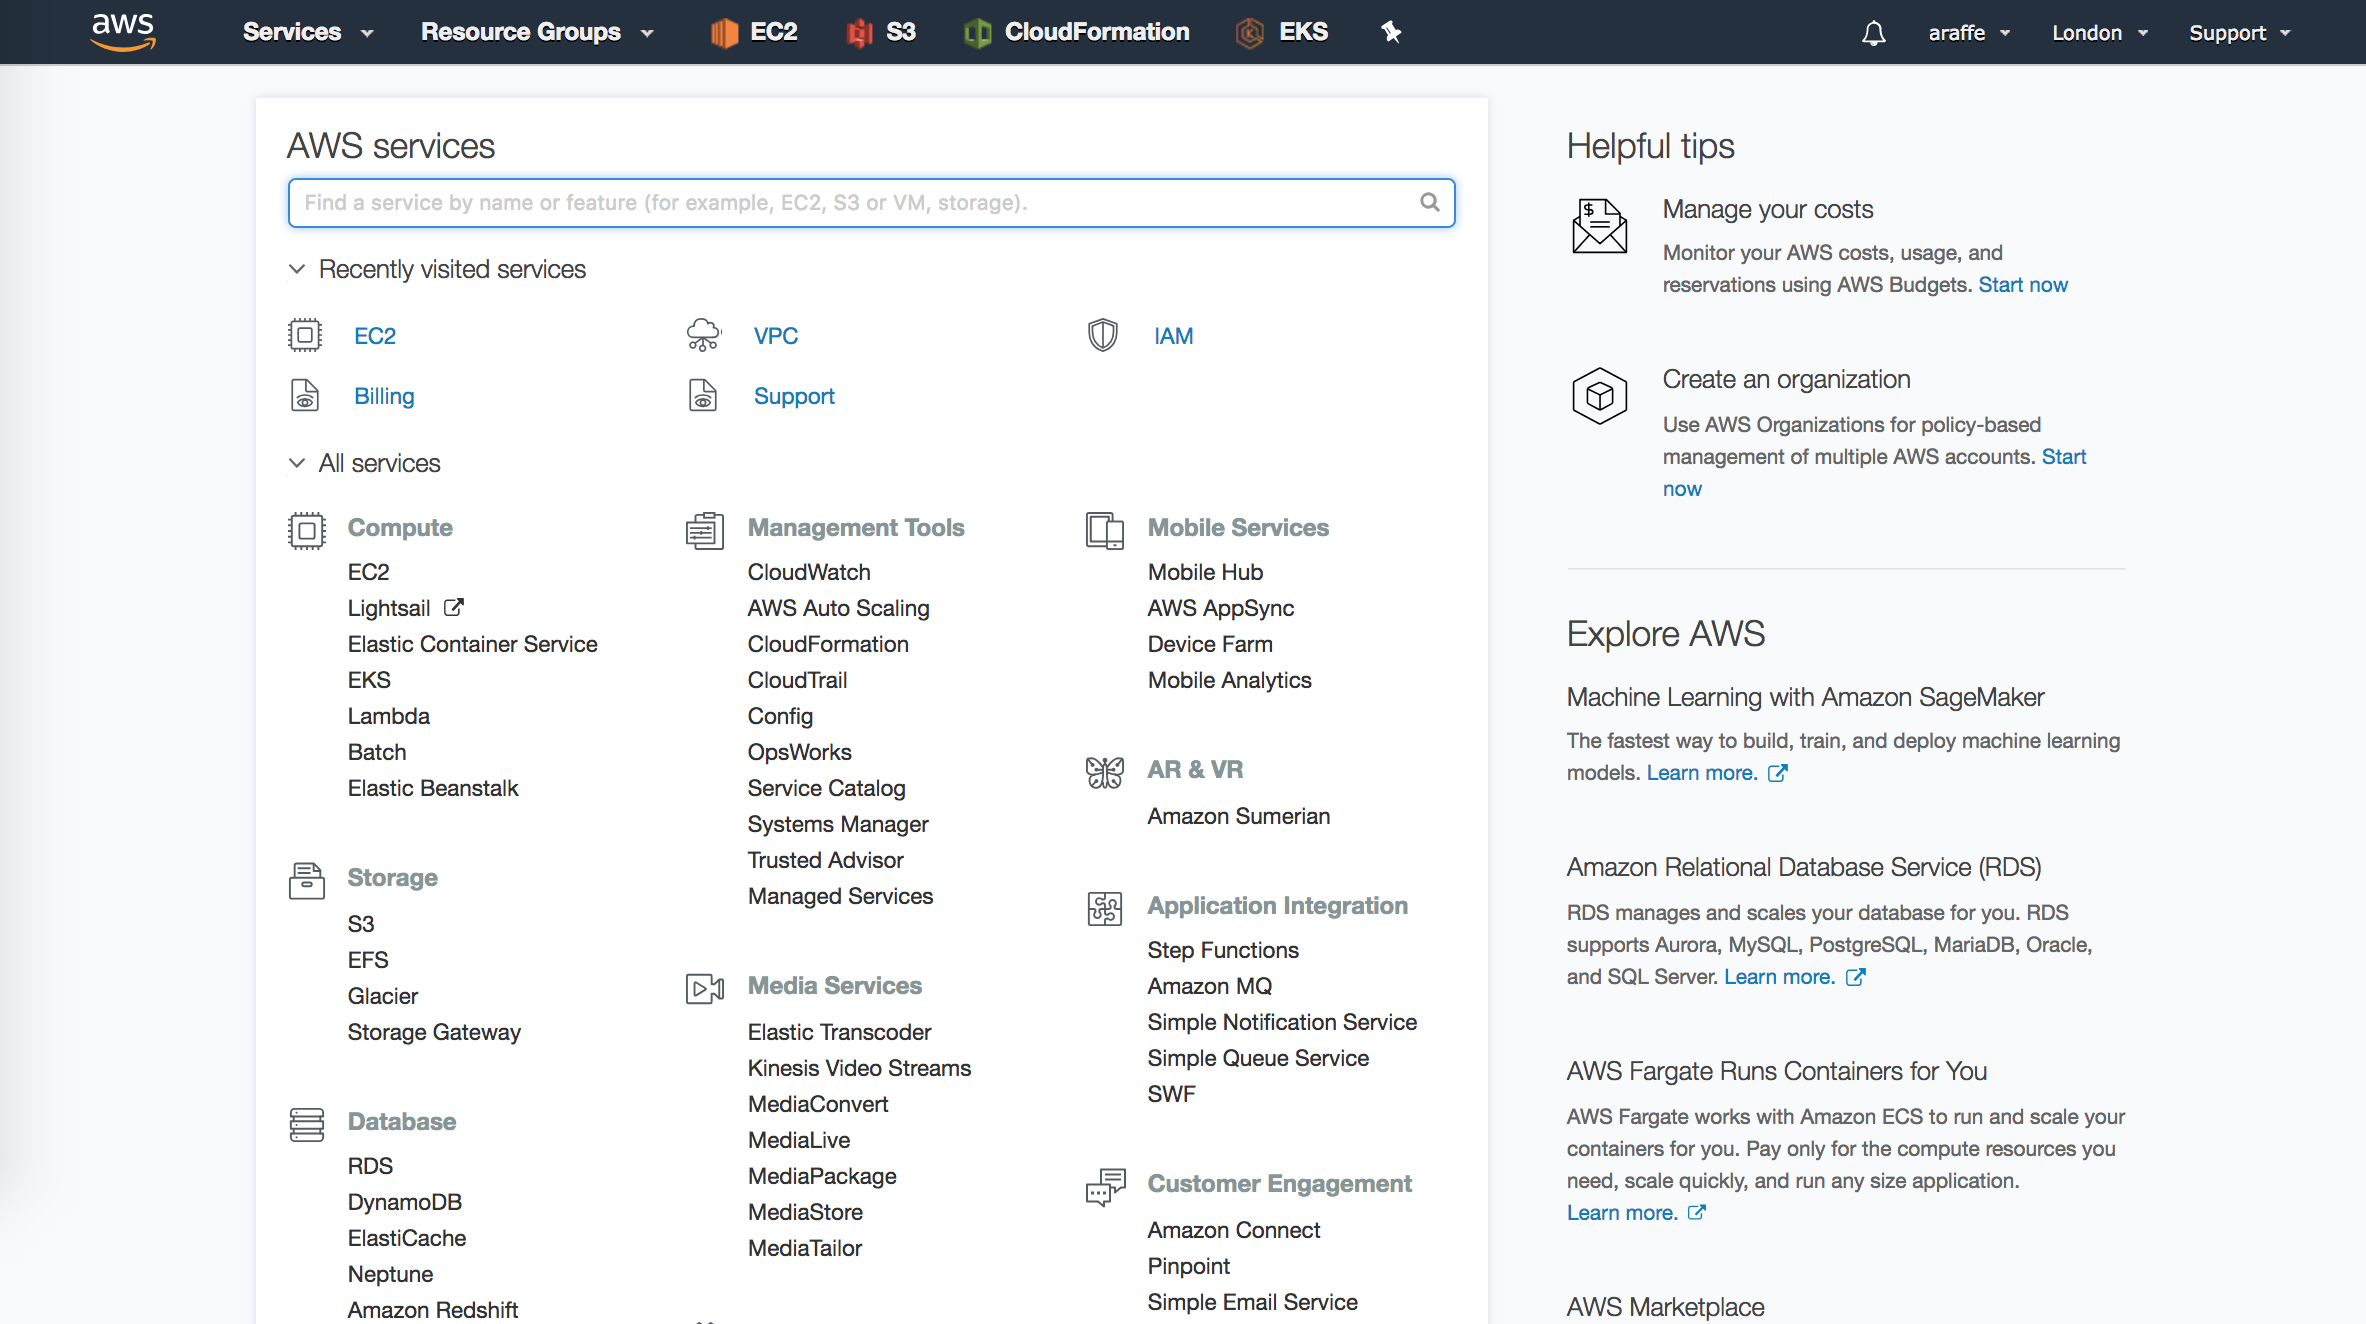
From here, you can search for the service that you are interested in, as well as see the recently used services (in my example, I have been using EC2, VPC and IAM). One other useful feature of the AWS console is the ability to pin commonly used services to the menu bar at the top of the screen. To do this, click on the pin button in the menu bar - you can see from the above screenshot that I have pinned EC2, S3, CloudFormation and EKS to my menu bar.
You can also set the console to the AWS region that you are working in. In my screenshot, you can see at the top right of the screen that I am working in the London (eu-west-2) region. Note that some AWS services (such as IAM) are not region specific, therefore you will see ‘Global’ in the top right of the menu bar when working with these services.
You can also view your account information using the console (under your account name in the top right menu option) - this link will take you to the AWS billing and management console which provides a whole host of information on billing, budgeting and payment options. If you wanted to grab your account number for example, you could also do this from the main account page.
Finally, the console provides a number of useful links to AWS documentation, tutorials and other helpful info - you can find this in the ‘Support’ link in the top right corner of the console.
AWS CLI
The AWS console is a great way to get started with AWS and get up to speed with the services available, but once you start to get more familiar with the platform, you’re likely to find the console a bit limiting in terms of speed and repeatability. One of the more advanced ways in which you can interact with AWS is using the AWS CLI.
The AWS CLI allows you to manage your AWS environment using a terminal rather than a graphical interface. This is not only quicker than clicking around a GUI, but it also means that you can perform a level of automation by scripting CLI commands. For example, you could create a script that contains all the commands necessary to create an EC2 instance, or create a new S3 bucket.
I’ll be covering the AWS CLI in a bit more depth in a later post, but for now let’s look at a couple of examples. All AWS CLI commands start with the aws keyword. You then generally specify the service you want to interact with, such as ec2, s3, rds and so on. Following that, you would normally enter the command corresponding to the action you want to take. So let’s say I want to list all the S3 buckets in my account (if you haven’t read the later posts covering these services yet, these terms might not mean very much to you now, but don’t worry too much at this point) - here’s the command I would use:
aws s3 lsIf I wanted to list out all the EC2 instances in my account I could use:
aws ec2 describe-instancesLet’s say I wanted to run a new EC2 instance - I could do that with the following command:
aws ec2 run-instances --count 1 --image-id ami-a36f8dc4 --instance-type t2.micro --key-name MainKeyThis command will run a single instance using a specific Amazon Machine Image (AMI), with an instance size of ‘t2.micro’ and using a key pair named ‘MainKey’. All of these terms will become clear later, but for now it’s enough to know that you can do pretty much anything in AWS using the CLI.
AWS SDKs
The real power of AWS lies in its programmability and ability to be automated. AWS provides a number of Software Development Kits (SDKs) that allow you to interact with the platform through code that you have developed yourself. SDKs are available for all the major programming languages, including Java, Python, Node.JS and Go.
Why might you want to use the SDKs? Typically you would use this approach if you want to integrate AWS services into the applications that you are writing - for example, your code could write information to a database service within AWS, such as RDS or DynamoDB.
CloudFormation
CloudFormation is a tool used to define infrastructure as code. The approaches we have discussed above all have their own pros and cons, but if you simply want to define the desired infrastructure within AWS, quickly and in a repeatable manner, CloudFormation is likely to be your best bet.
The idea behind CloudFormation is that you can model the AWS services you want to provision, such as EC2 instances, S3 buckets and so on, in a single script using a descriptive language. You can define this script locally and then when you are ready, upload it to AWS, at which point the platform will read the script and then provision the services and features that you have defined in the CloudFormatiom script.
One of the big advantages of using CloudFormation is that because your infrastructure is defined as code, you can treat your scripts the way you would treat any other code - checking it in to code repositories, using version control and so on. CloudFormation is also extremely flexible and powerful, allowing you to use many advanced features such as rolling back the ‘stack’ if there are issues, as well as the ability to detect ‘drift’ from the stack (i.e. if someone has come and manually changed something after the script has run).
OK, now that we’re familiar with the various ways in which you can interact with AWS, let’s move on and start looking at Identity and Access Management (IAM). See you in the next section!